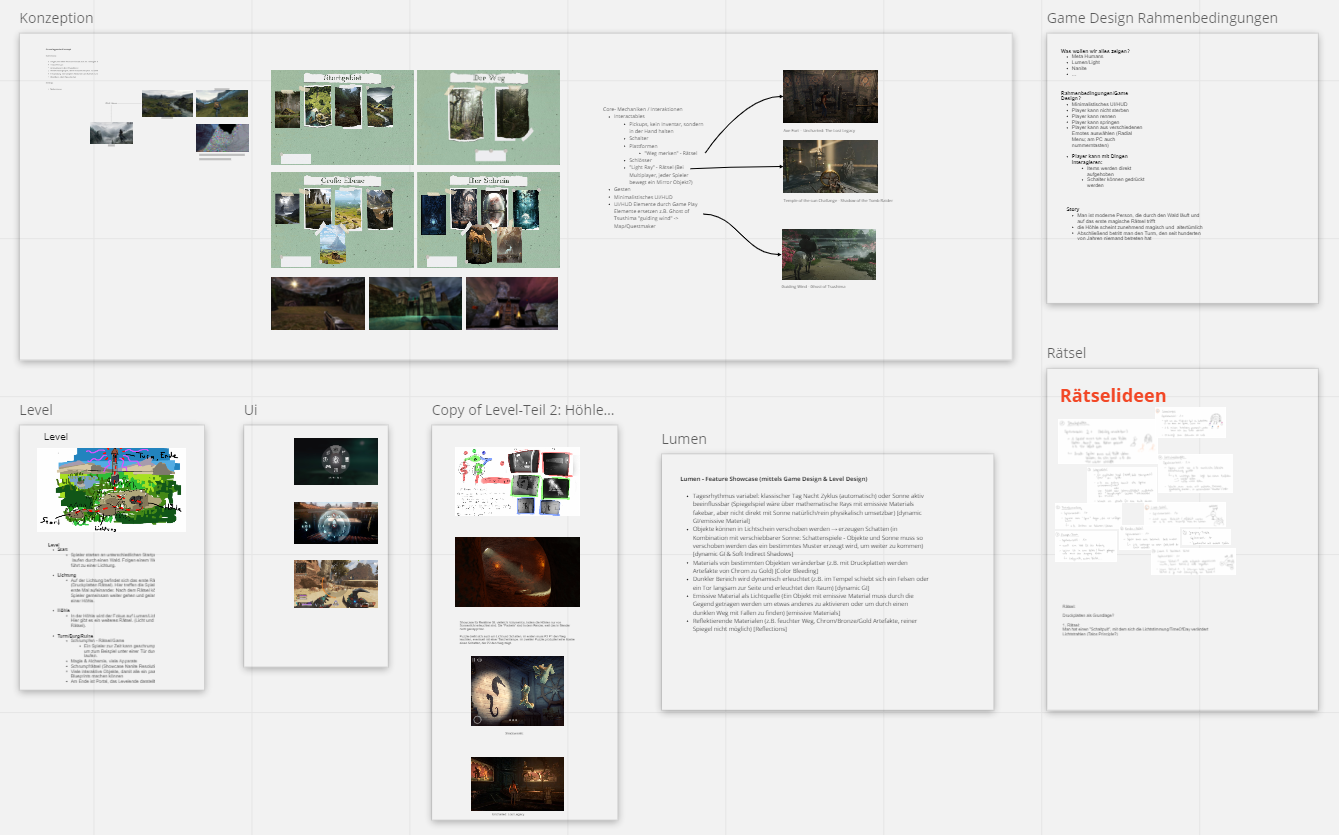
Every project has a beginning and an end. Before we started doing anything, we were discussing possible ideas for a project. We had to do something with the new Unreal Engine 5, but the question was, what do we want to do? And how do we want to do it? Who wants to do what? To begin with, we had many questions, and we tried to hold all our ideas in a Miro board.
general ideas collected
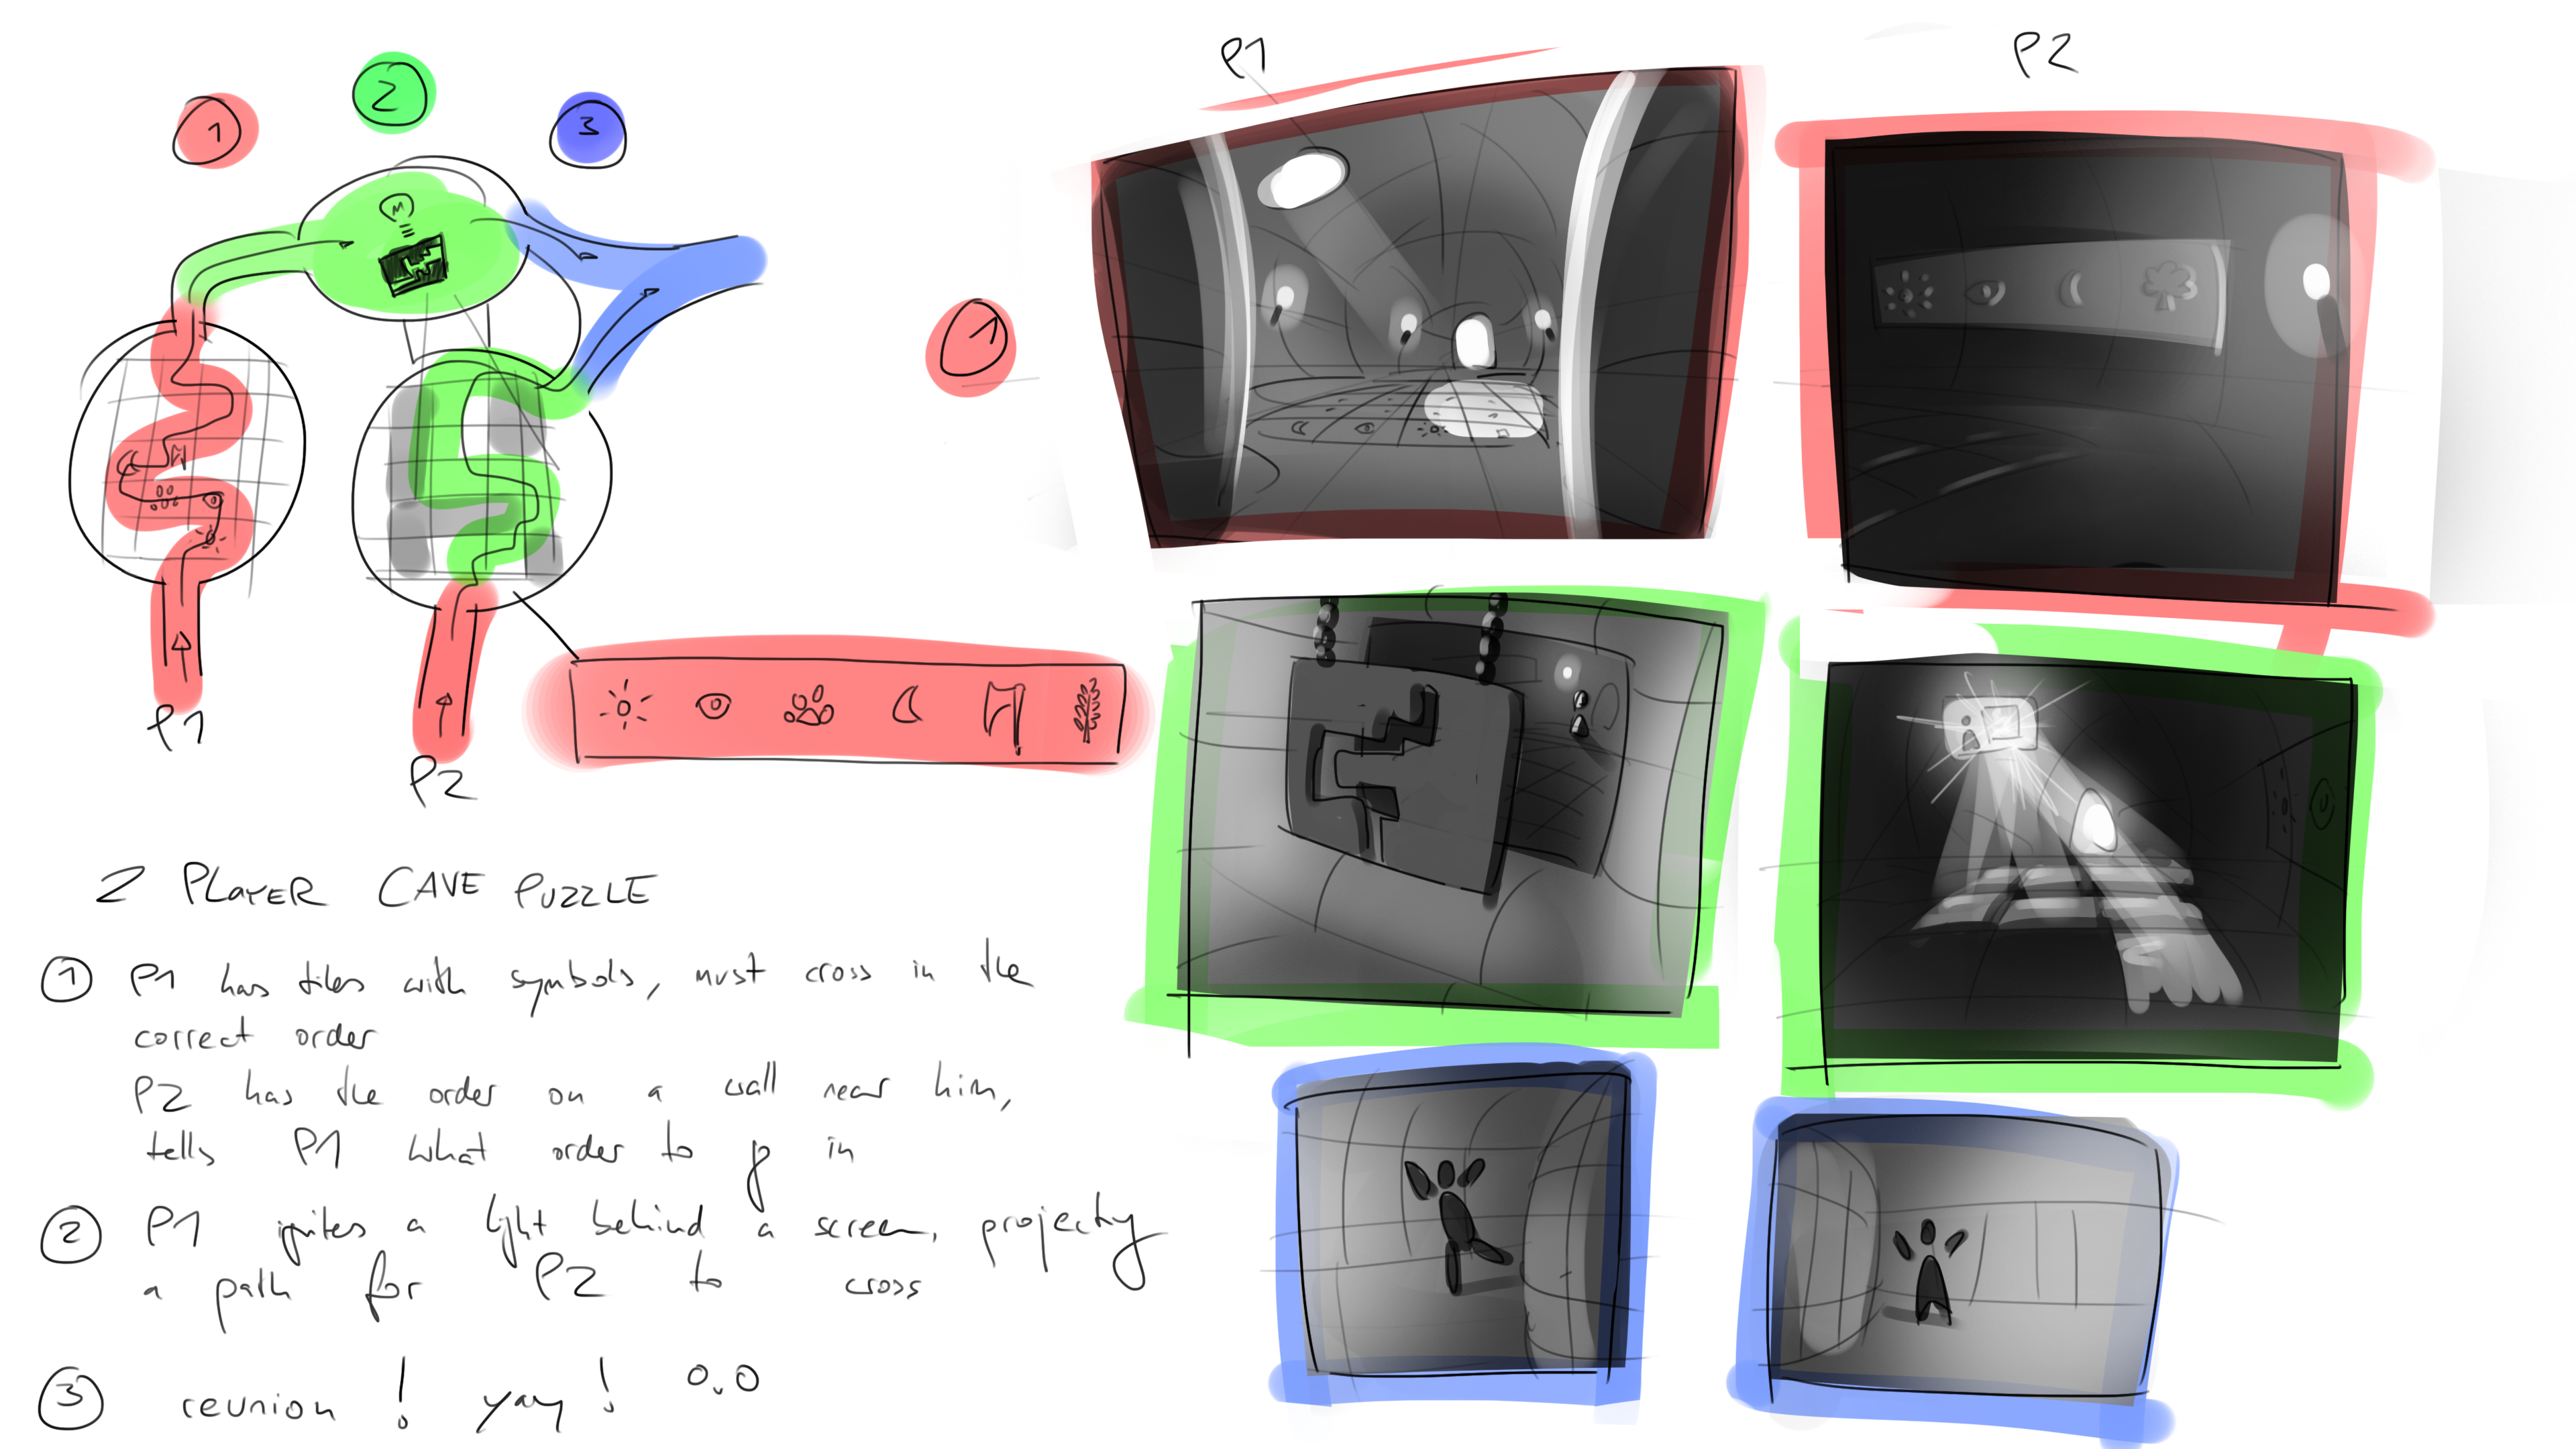
Concept Art
Drawings of varying levels of quality were made using Photoshop to convey ideas about the map layout, riddles and other events visually to the other team members. Most were simple drawings in black and white, occasionally with shading if three-dimensional form or lighting was relevant to the situation depicted.
Concept Art(1)Concept Art(2)Concept Art(3)
Assets creation (a selection)
One of our focus was to create some various assets ourselves using the software Blender. This point was important to us, because self-created assets give the project more independence. Nevertheless, we also made use of existing assets. In the following, you will see a selection of our self-made assets for the project.
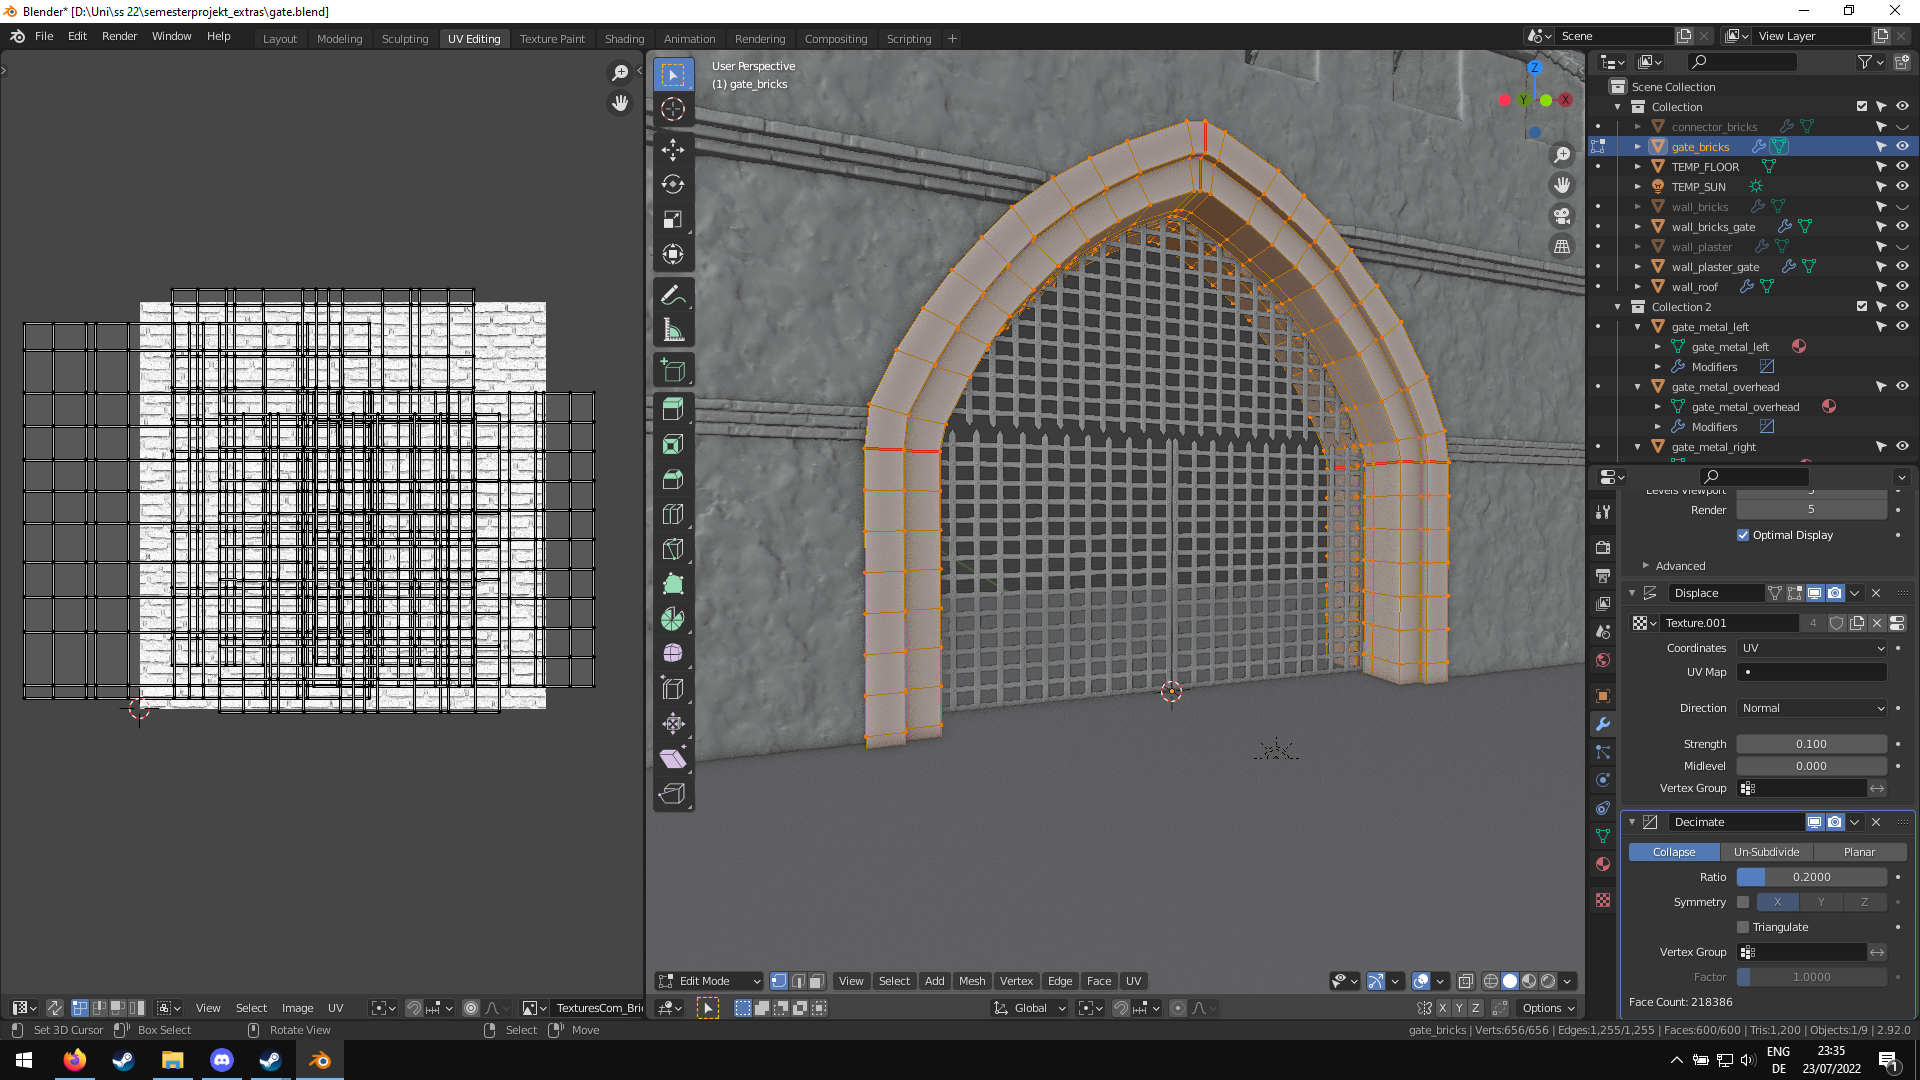
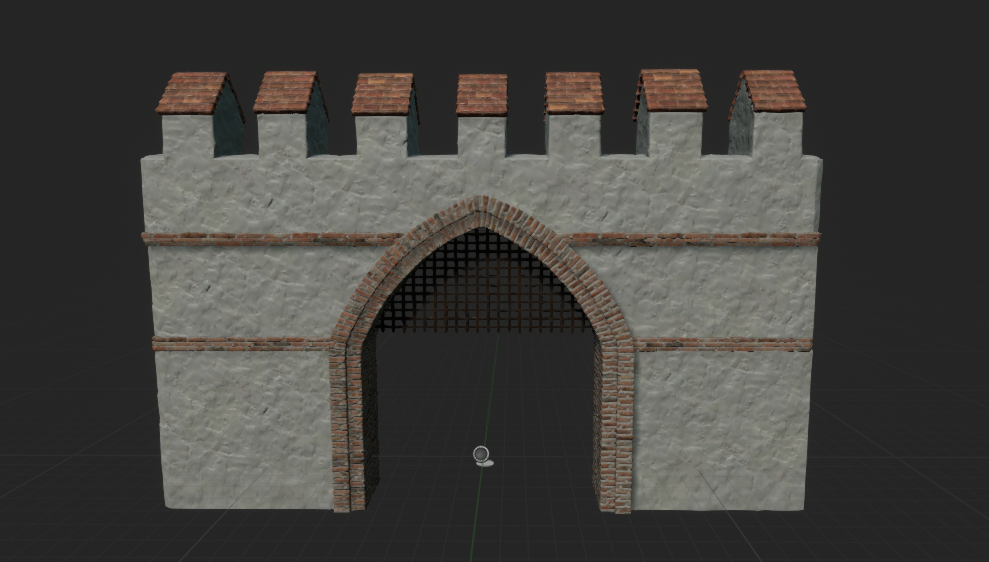
The photorealistic nature of the showcase demo, coupled with Nanite allowed high-poly meshes to be created and used directly in Unreal Engine. This workflow was used for example for the wall and gate at the beginning of the demo. A simple low-poly model was created, subdivided and the resulting geometry was displaced via heightmaps that came coupled with the PBR-textures that were then applied to the resulting geometry. To reduce file size, the geometry was then decimated, which is a process somewhat akin to lossy compression, where low-detail vertices get removed from the mesh.
The wall in the makingThe wall as final result
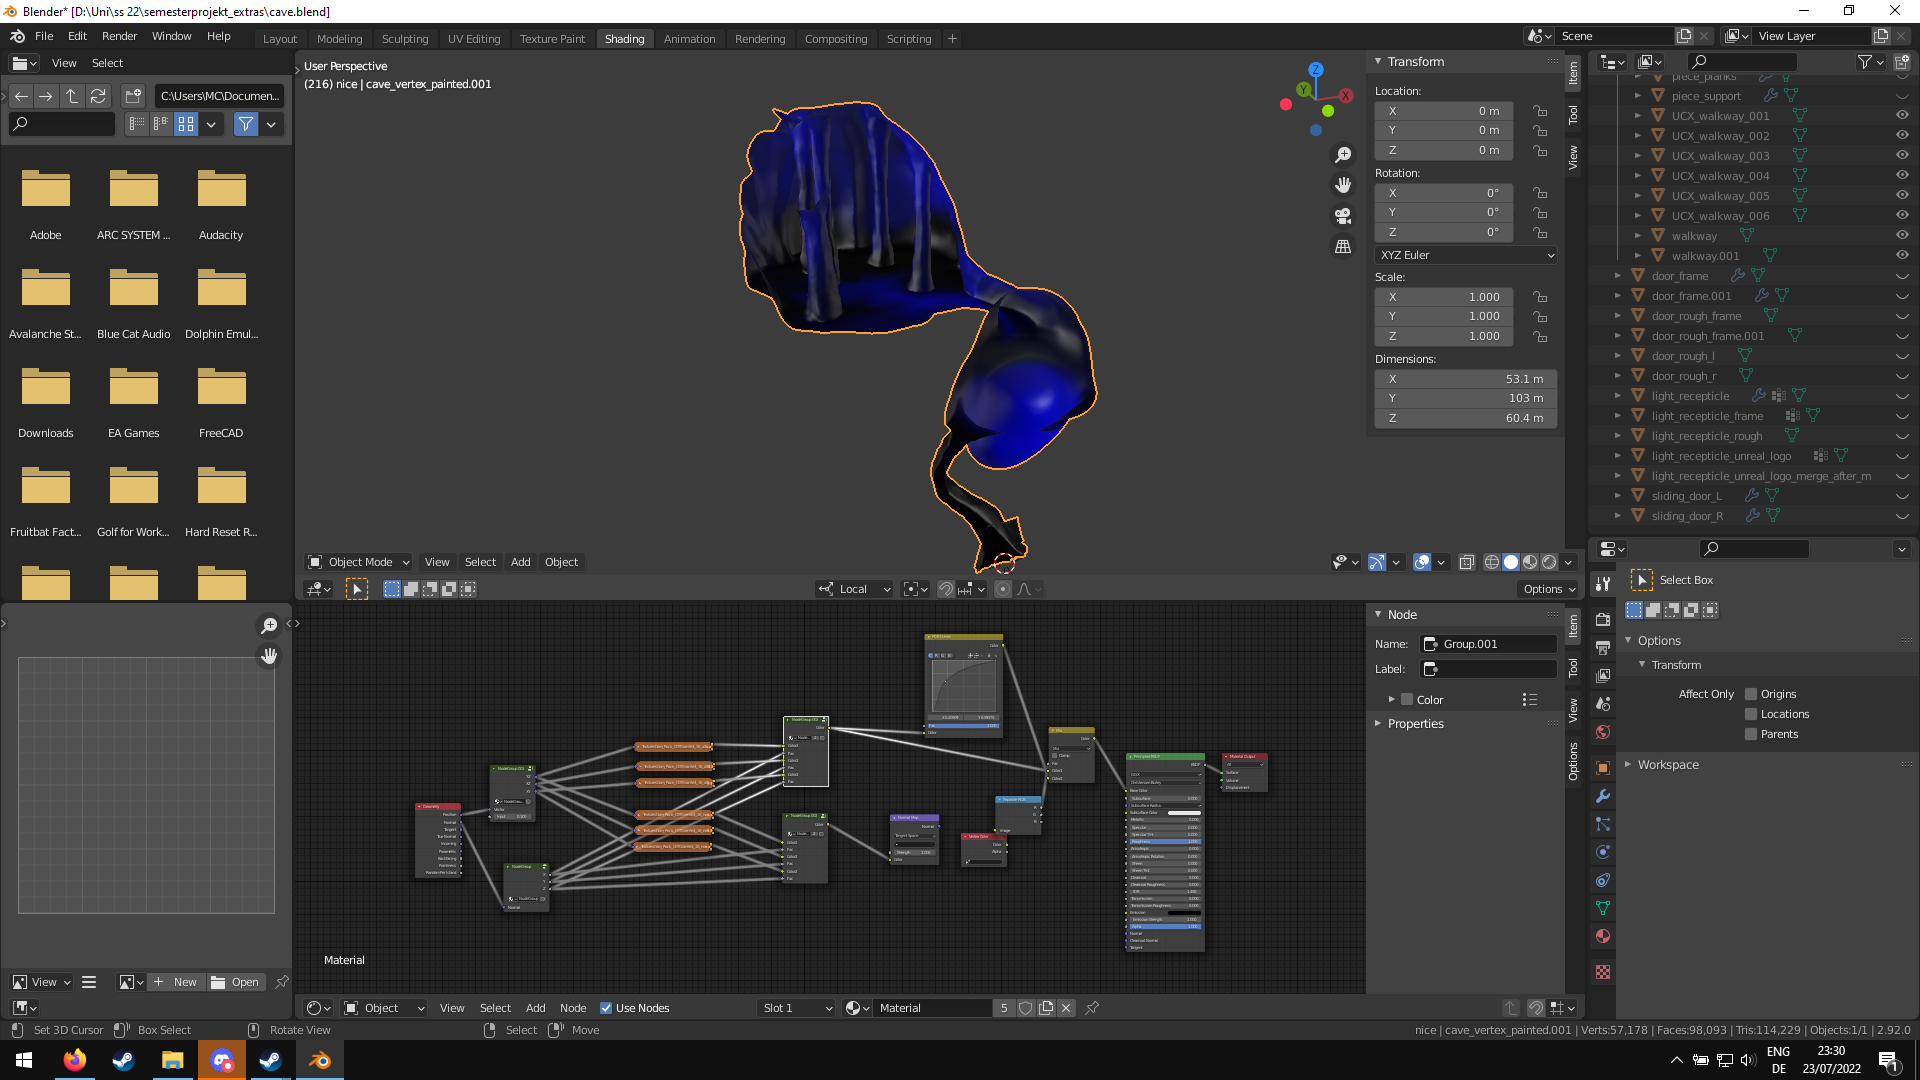
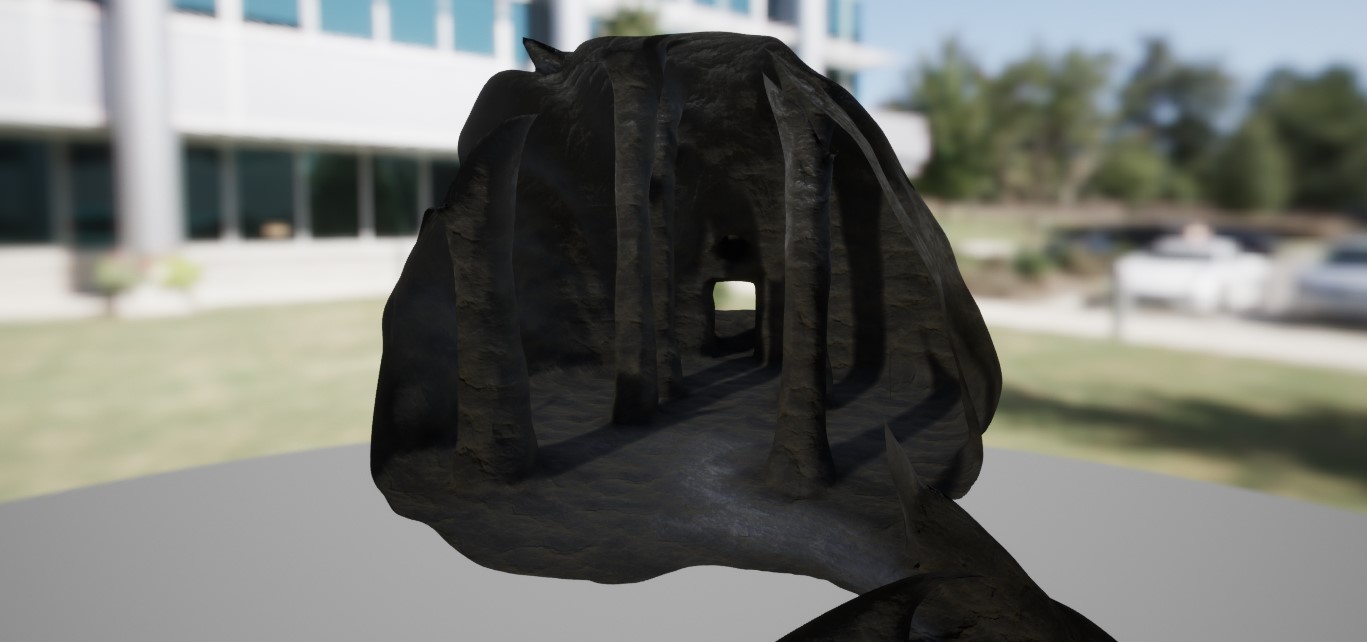
The cave was a special case, as modeling such an organic shape would have been difficult. As a base, a low-poly mesh was constructed, containing the openings at both ends as well as the chambers and pathways. The pillars in the main chamber were separate meshes combined with the cave via a boolean operation. With the complete base the remaining detail, roundings and protrusions were sculpted in. For texturing, triplanar mapping was used, as UV-mapping such a complex object without obvious texture stretching or texture boundaries would have proven an exercise in futility. Furthermore, painting a custom texture, while possible, would have produced an enormous texture, which was not the case with the simple tiling texture used and projected along world space coordinates.
The Cave in the makingThe Cave as final result
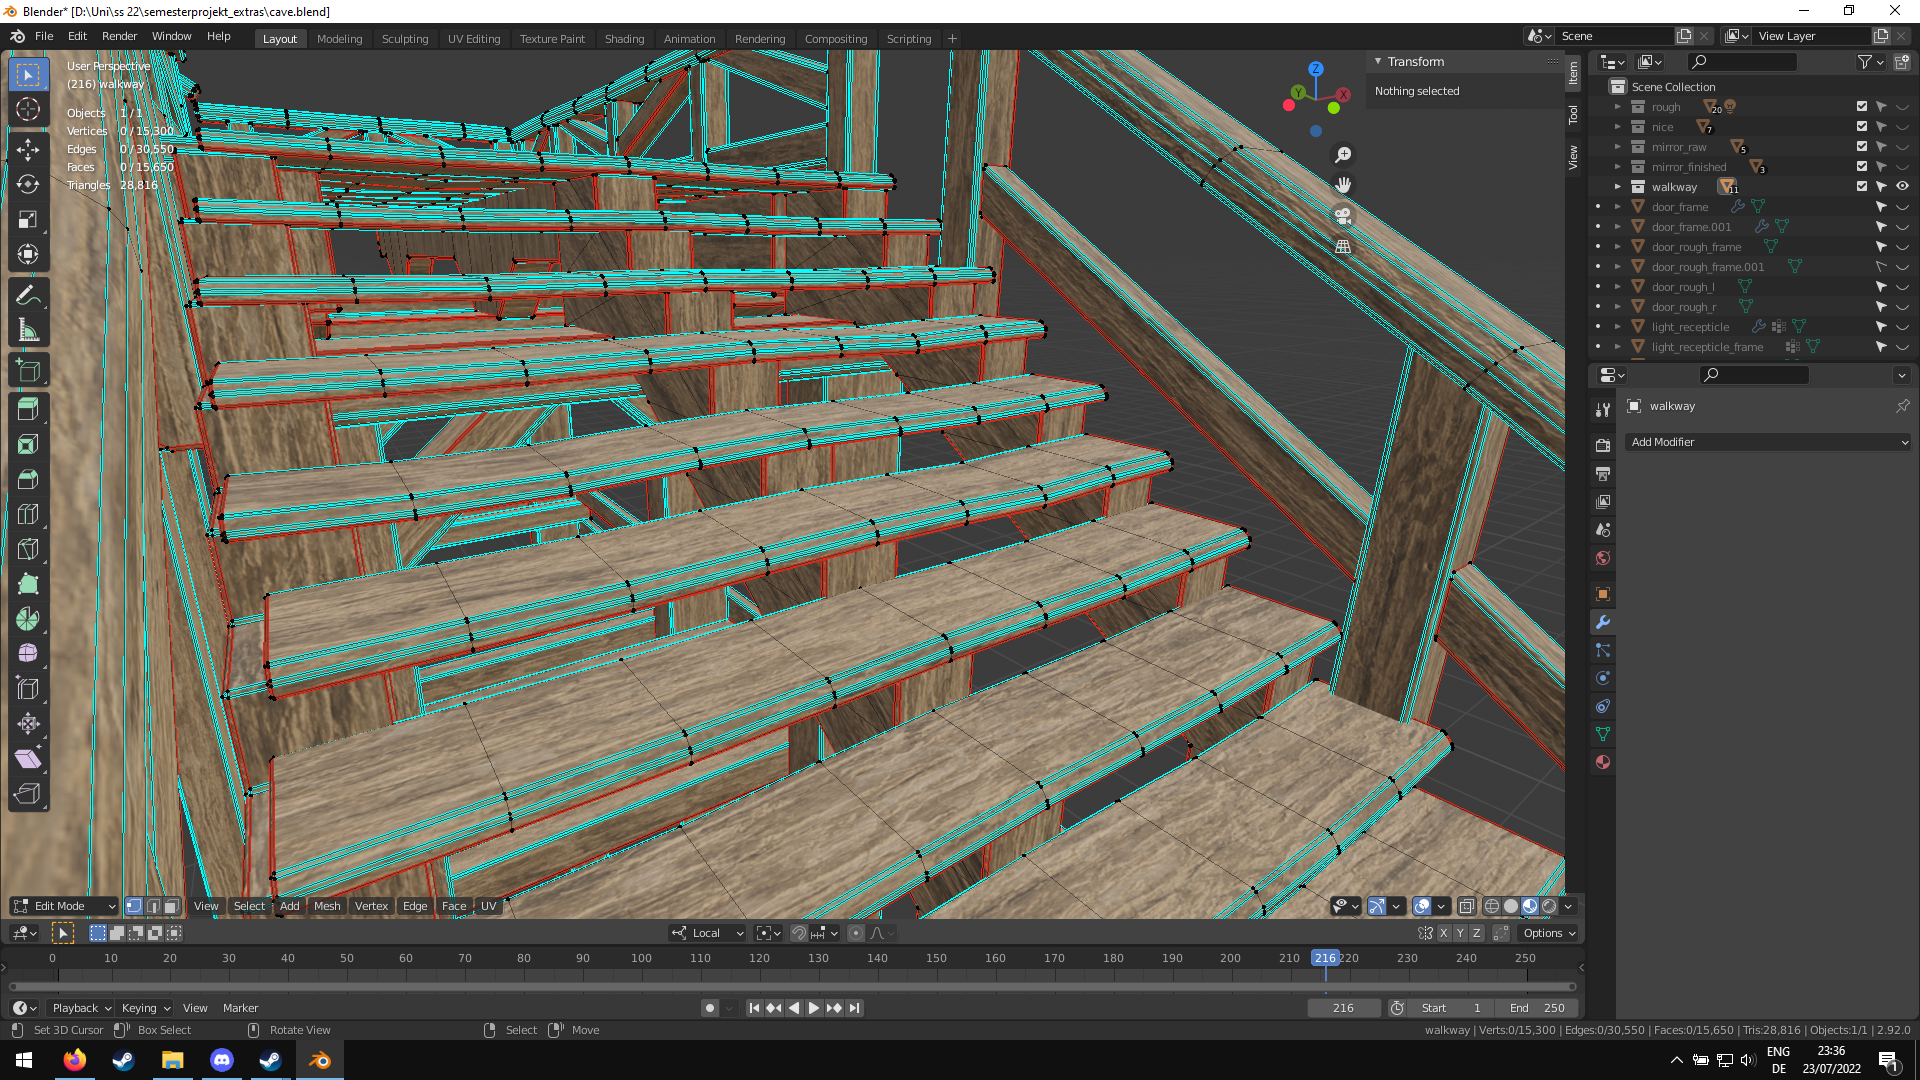
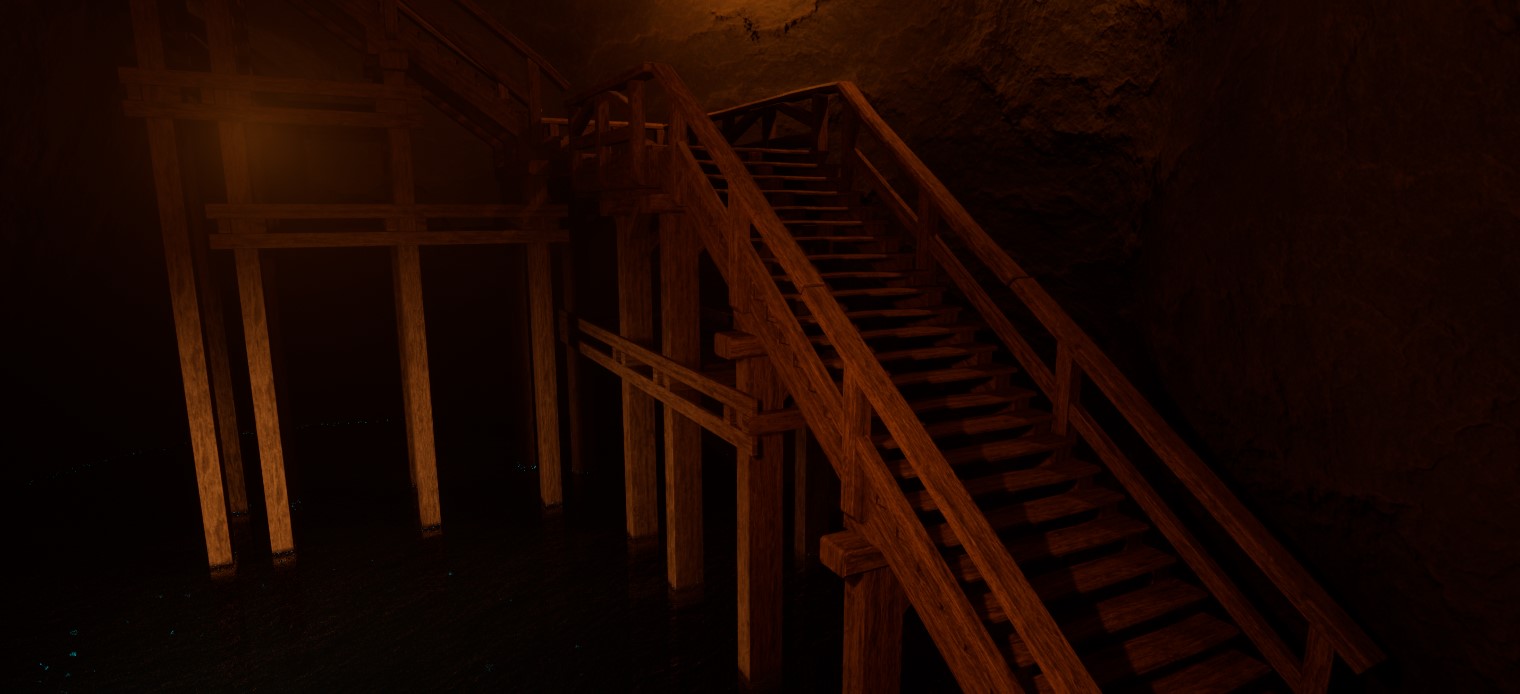
Finally, simple modeling was also used, as the walkway found in the cave was essentially a lot of cuboids fitted together in a convincing manner. Of course, to resemble real wooden construction, the perfectly straight and right angle boxes were subdivided and distorted and had their edges beveled so as to look more convincingly wooden and hand-made.
The walkway in the makingThe walkway as final result in the demo
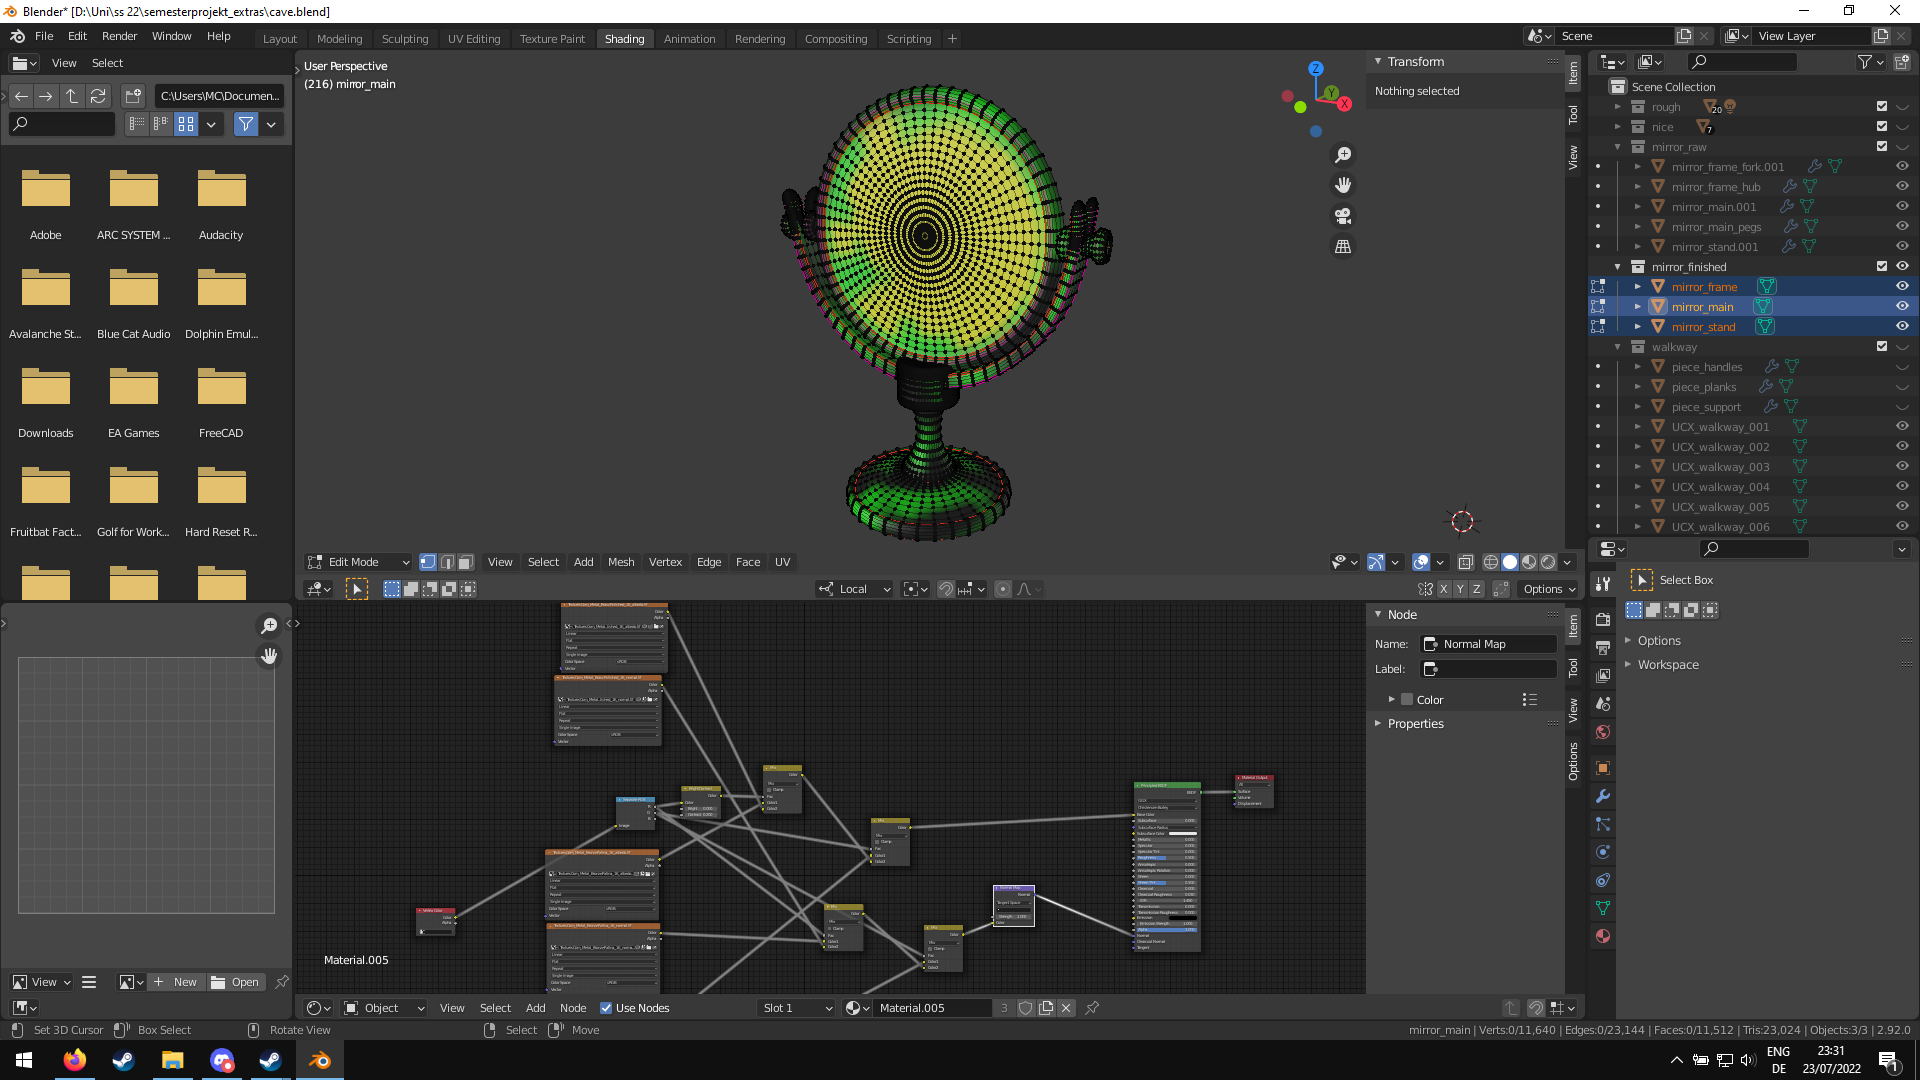
For even better texturing, vertex colors were used on many custom objects to vary their appearance in different parts of the model. One example is how the material of the cave is glossier where water would run into the pond. Another is the material for the mirrors blending between very corroded bronze, mildly corroded bronze and shiny bronze as well as varying the roughness of the shiny part, all using vertex colors to blend the various textures.
The mirror in the makingThe mirror as final result
Photogrammetry
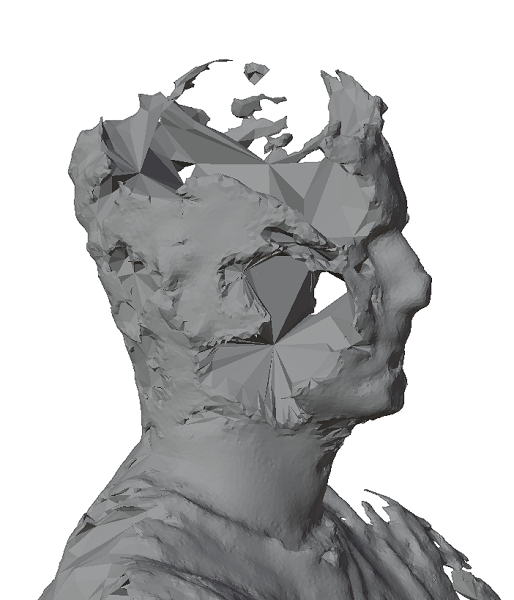
First experiments using around 50 pictures shot with the subjects standing and using a wide-angle lens from close up produced barely if at all usable results. Missing features, artifacts and a generally low-resolution scan of the subjects made post-processing extremely difficult. Our teammate Hendrik then delivered a good scan of himself, which allowed us to pinpoint the differences and come up with a theory as to how to get Meshroom to produce better scans. He used a crop-sensor DSLR with a 50mm lens, giving him a narrow field of view. Coupled with the distance the camera was moved between pictures, this gave Meshroom very little information to also reconstruct the background, Information which was plentiful in the wide-angle shots used previously. In the second round of scans, more pictures were taken per person - around 150 - and make-up markers were added on the face to aid the algorithm in creating an accurate point cloud. Additionally, the background was manually masked out in all picture, preventing any reconstruction of anything but the subject. This produced good to excellent results, which were easily post processed via sculpting in Blender. For texturing again triplanar mapping was used with vertex colors determining parts of increased roughness, such as the hair, bears (if present) and eyes as that makes these parts visually distinct.
Broken scan of our teammate holzi
Blueprints Visual Scripting
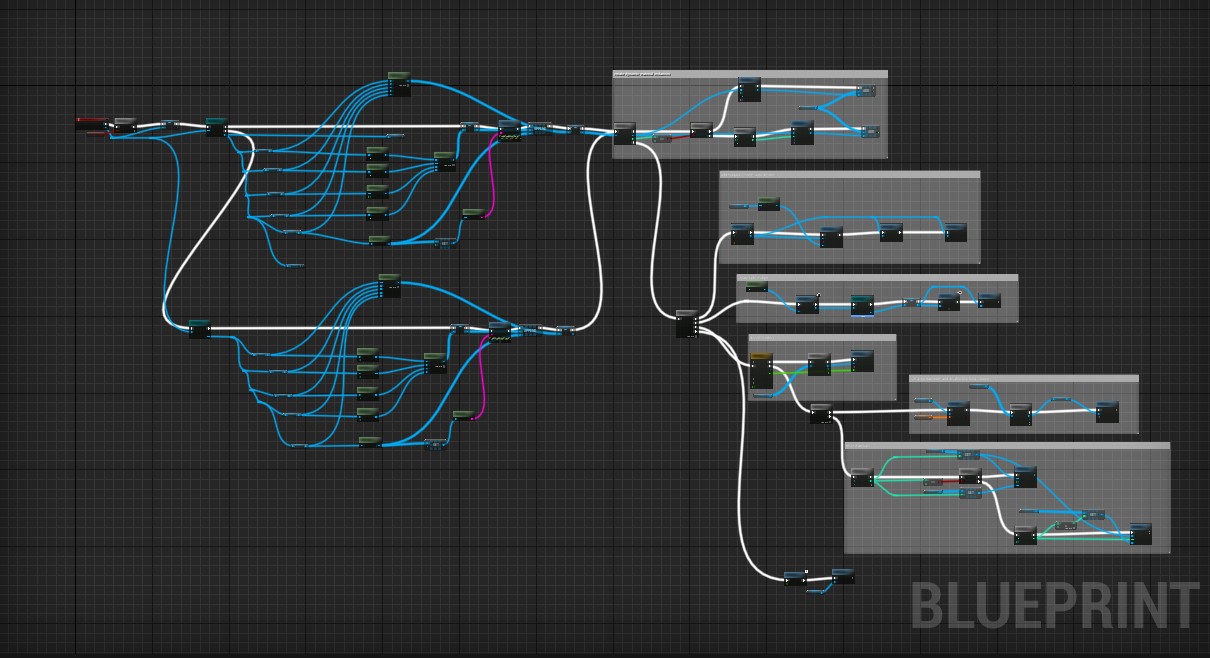
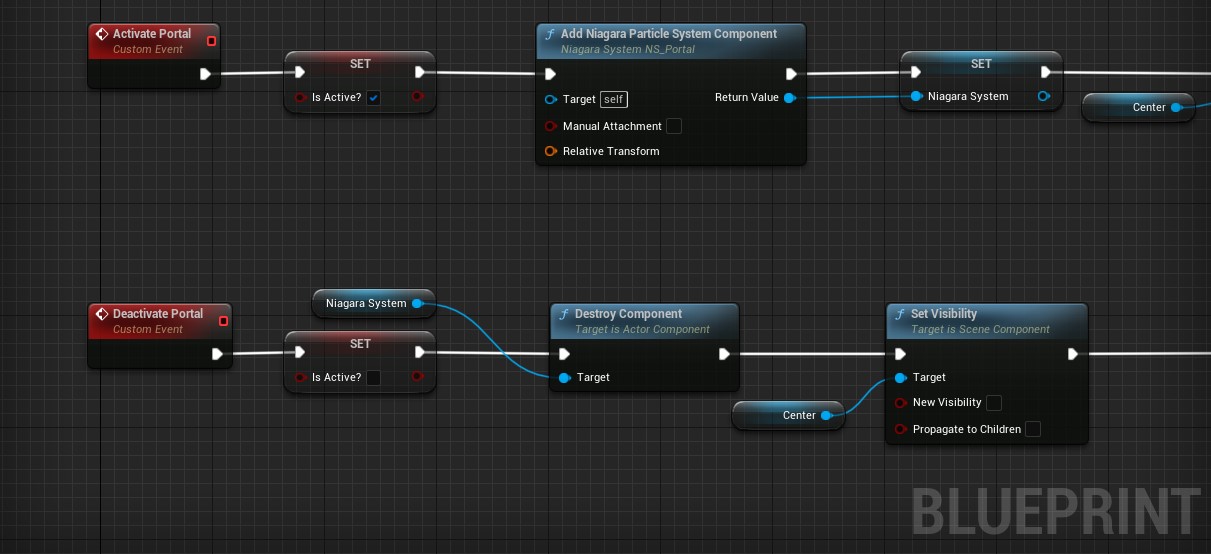
It is possible to create your Unreal Engine application with the object-oriented programming language C++, or with the use of Unreal Engine’s Blueprint Visual Scripting system. This system is based on the concept of using a node-based interface to create gameplay. It is extremely flexible and powerful as it provides, even for non-programmers, an environment to create games and other applications. Our team decided to go for the Blueprint system than C++. Not everyone in our group is familiar with C++, and the Blueprint system was very attractive to everyone and offered a good alternative. The entire gameplay and game logic was realized with this system.
Example of Blueprints(1)Example of Blueprints(2)
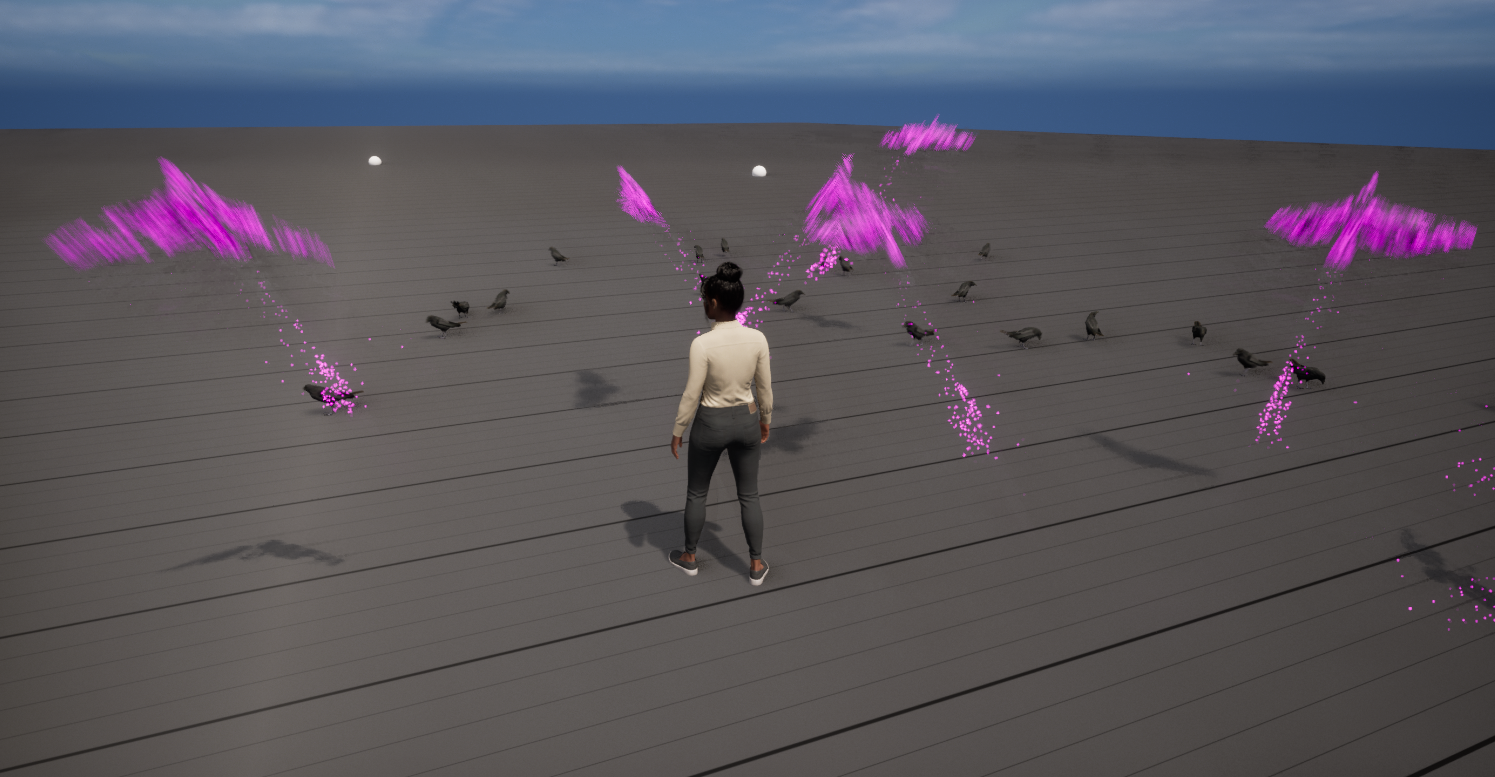
AI of the wildlife
For the AI of the deer and ravens in our world, we used Behavior-Trees. The Behavior-Tree defines the behavior of controlled pawns. It always includes a blackboard where important information is stored, e.g. the position of an opponent. Information in a blackboard can also be synchronized, so that several objects have access to a variable.
In addition to blackboards, we also used Unreal’s AI Perception, which can simulate different senses of a pawn such as hearing or seeing.
The Behavior-TreeRavens fly away if you get too close
MetaHumans
For our character models, we used Epic Games’ MetaHuman-Creator, which is a toolset within the Unreal eco system for achieving lifelike human characters. Our animations are retargeted to fit our MetaHumans.
One of our metahuman characters
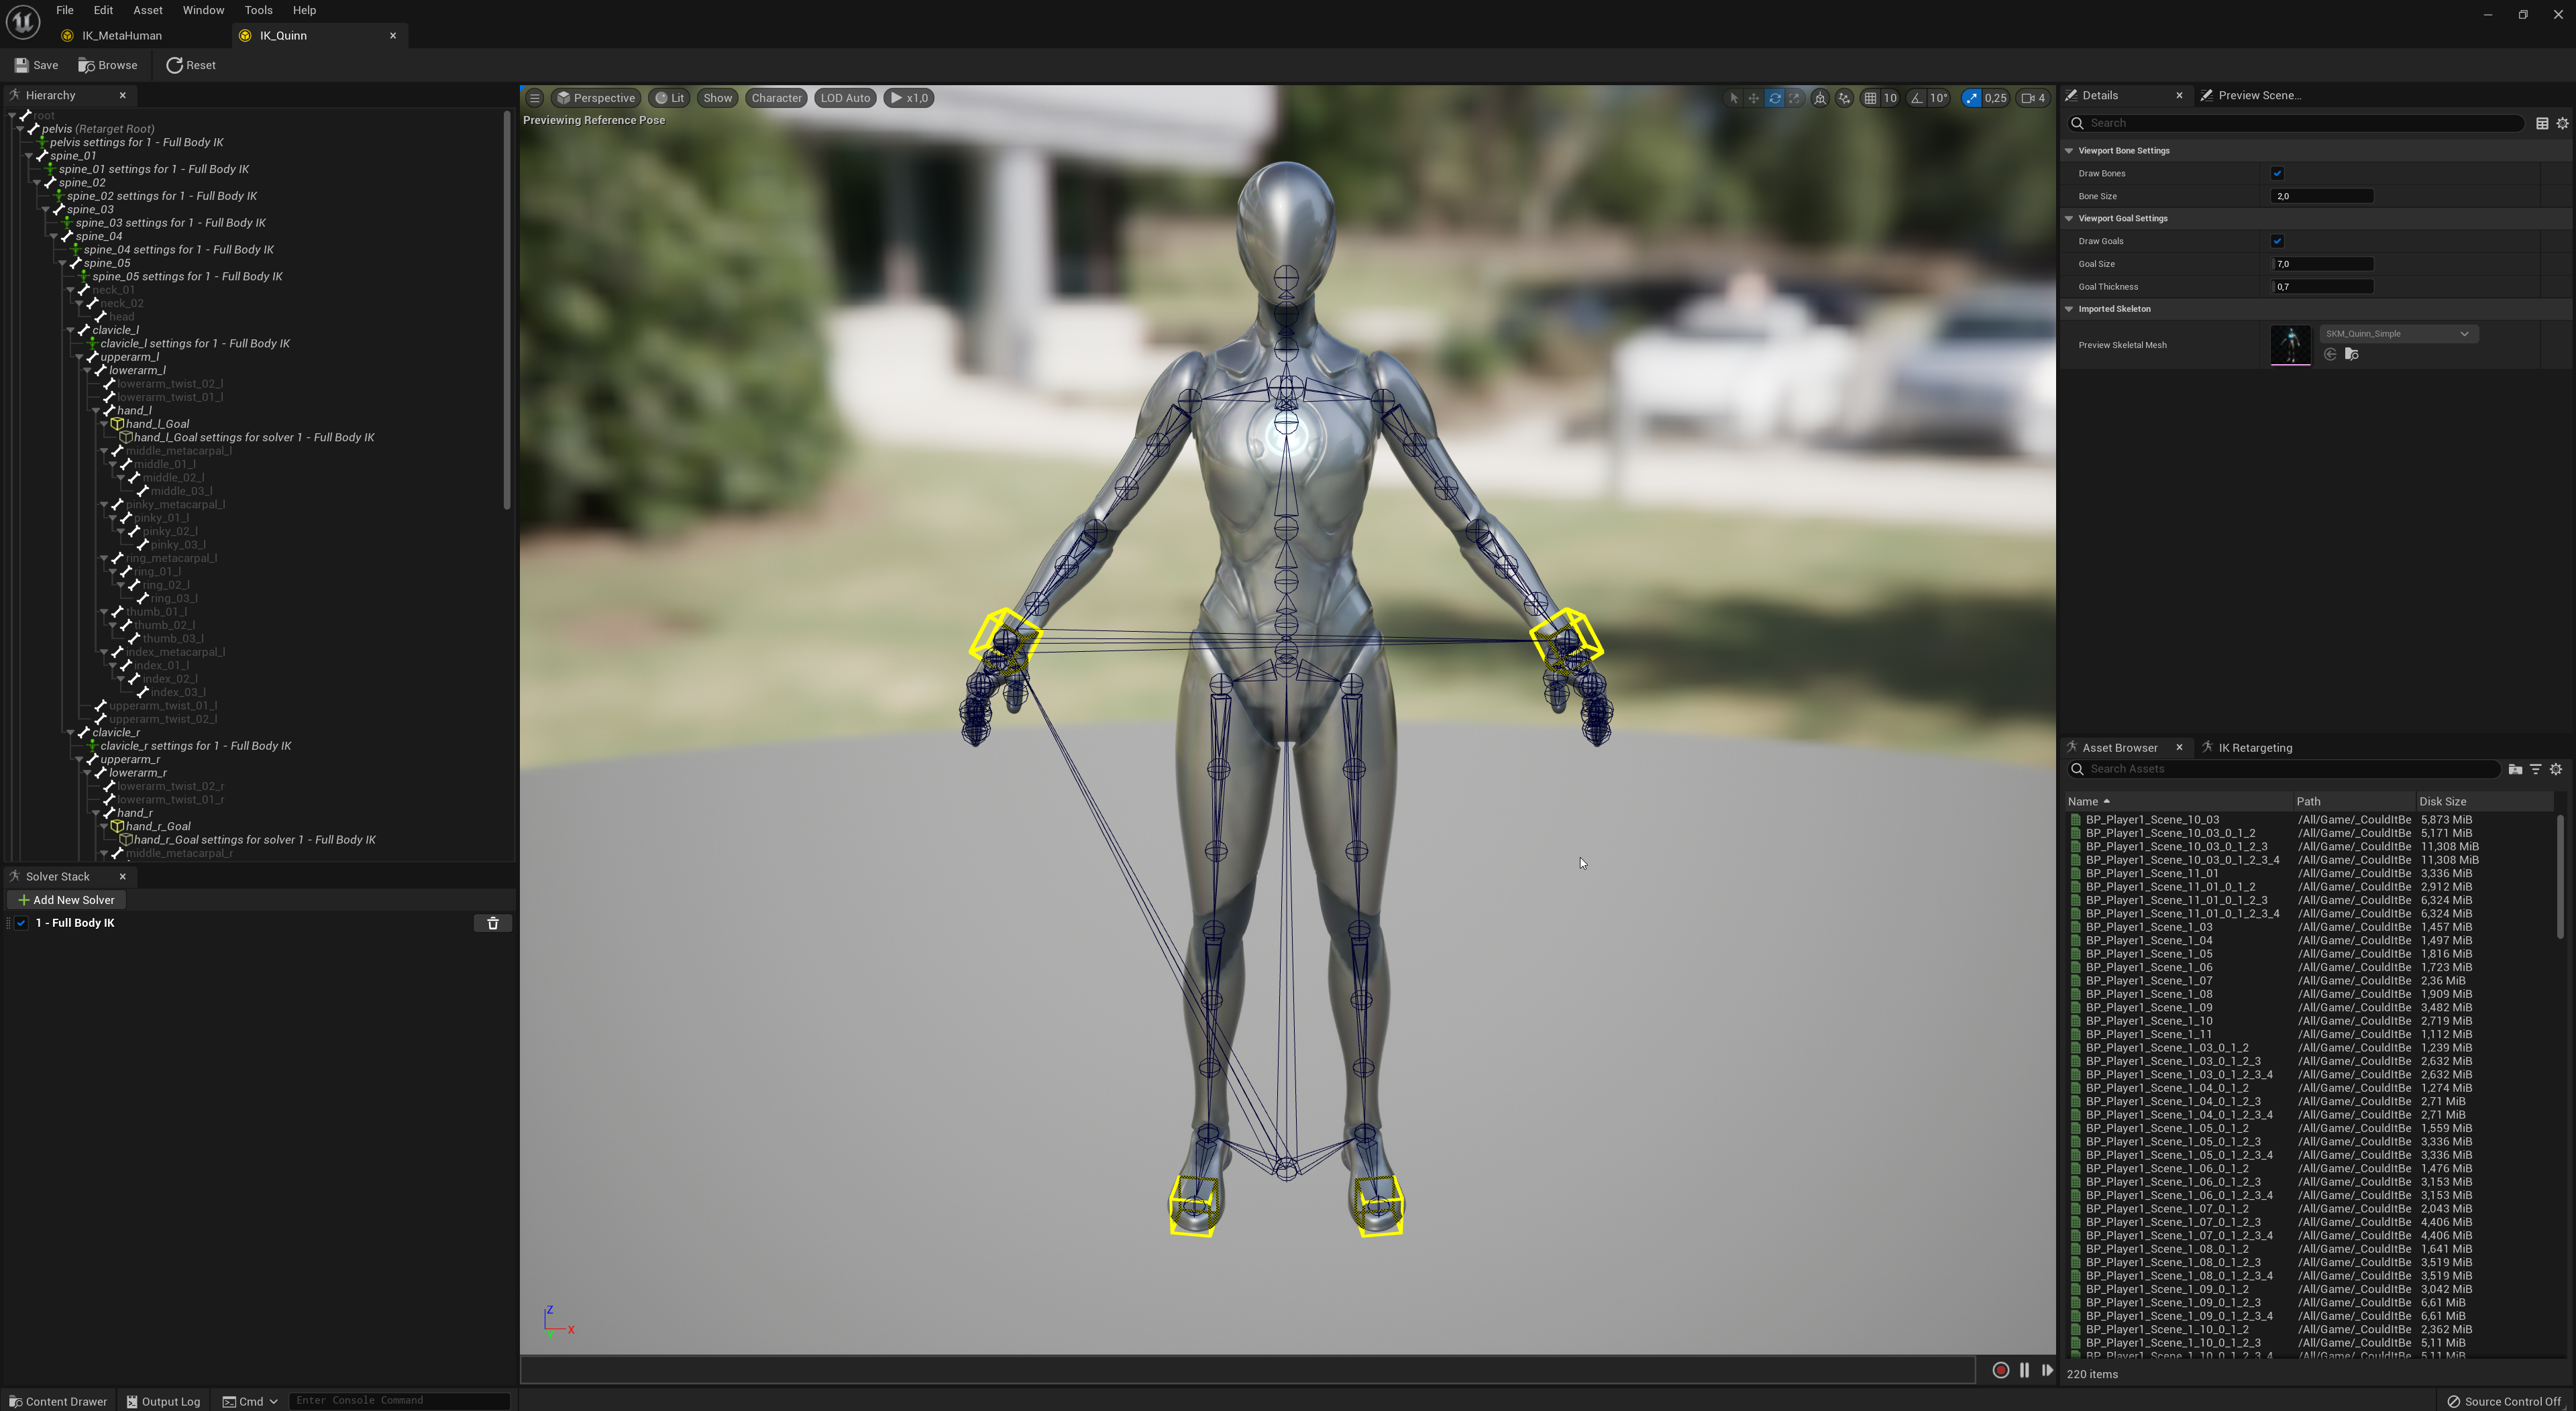
IK Retargeting
With Unreal Engine 5 the developer gets a new workflow, which greatly speeds up the retargeting process for any humanoid character. Furthermore, there is a new IK Rig System, which lets one alter IK Goals during Runtime.
IK Retargeting
Project Management
For our project, we adopted for an agile project management. But instead of opting for a concrete methodology and strictly going down that road, we only took methods that were practical and beneficial for us. Those were mostly scrum methods.
We held our jour fixe to inform the others on our progress on a weekly basis instead of daily. Our sprints had a duration of 2 weeks, ending with a release for the upcoming review. After the sprint review with our supervisor, we immediately held our sprint retrospective and partly started the planning for the next iteration by breaking down the new input we had received and deciding on what needs to be discussed for the next sprint. The first weekly jour fixe after a sprint had ended was simultaneously our sprint planning phase for the next one.
For task handling, we ended up using a combination of the kanban board and the scrum backlog.